Arthur used to have a game bag but it got lost at a hotel last year. It is a pain to keep all the original boxes and to be honest I am tired of hearing " Mamma, where is my ...... game?" And the last thing mamma has time for is going on a 3ds game hunt. Here is a tutorial on how to make a game pouch for 3ds games and you can adjust it to how many games and how big you want it. I wish I added a place for the system itself because mine ended up being the perfect size. I hang it up in his room close to his bed so it is easily reachable to him but not to his sister and if you fold it over he can carry it with him if we go to a restaurant.
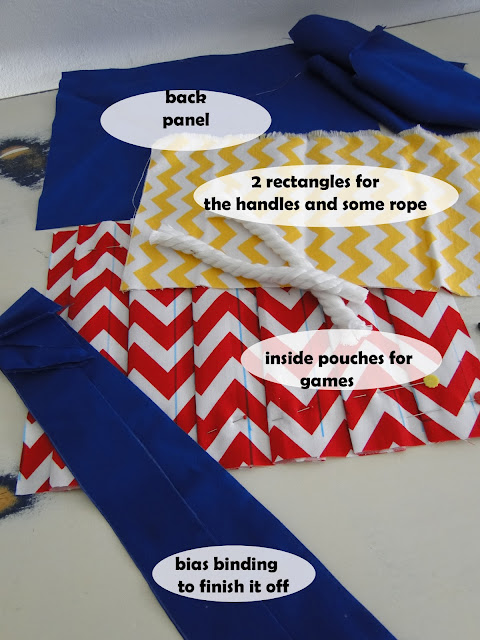
This is what you are going to need:
You are also going to need interfacing for both the inside and outside panels. the chevron part I used an iron on thin interfacing and ironed it on before folding the pouches. This makes it a little thicker and helps so the games stay in place and don't slip out.
For the outer panel I use a STRONG woven sew- in interfacing to keep the form.
Drawing lines.
You are going to draw 4 lines that are 1 1/4 inches apart and the fifth one is 1/2 inch then repeat. I repeated this 5 more times for 6 rows.
After you folded your pouches and ironed them very well you are going to mark your lines to create the pockets.
You can make the handles how ever you want. I added rope so it creates more grip.
Attach your handles to the outer panel with the woven interfacing and sew on.

Now you are going to put the outer and inner panel together (wrong sides) and pin your bias binding on.
Finished product. You can hang it up closed and slip the handheld in it to keep everything together or open


Very cute!! I like the technique for the handles, especially. When my little guy gets old enough for one of those, I'm totally going to make one!
ReplyDelete