Wednesday, June 19, 2013

something to keep little hands busy.......


I always enjoy making crafts that the kids can help me with. Isabella likes to sort things and I have bought toys like that before but we keep on losing the pegs because it is removable. I made one that is glued and thus she can not remove them :)
My plan was to use foam sheets but I could not get them through my punches so I made a plan to use felt ( It worked out great because now we can use them on our felt boards to make flowers)
 
This is what you are going to need. I did not need to buy anything and had it all on hand.
For the shapes I used my handy dandy Go! Baby which is one of my favorite tools for crafting,sewing etc. It was a to Mom from Mom Christmas present.
You can just cut it out by hand and make other shapes like triangles,squares,rectangles, circles etc.


cut your fabrics like described below.

 
I first mod podged fabrics on my square as well as the shapes of fabric. I also painted the pegs the same color as the matching fabric at the bottom while the mod podge was drying. Drill your holes and glue the pegs in it. She already tried to pull them out but have not succeeded. HA HA!


while I was assembling the pegs the kids had the best time making flowers on their felt board. They used the already cut out shapes and I also made some stems and leaves for them.
This is something we can take with to restaurants to keep them busy.


Look how pretty. Arthur did a great job assembling flowers


Isabella likes it small and simple.


This is standing in the living room on the coffeetable .


Till next time......

Friday, June 14, 2013

Shorts for Bella


Yesterday I sewed up some cute shorts for Bella to add to "shorts on the line" ( Grab a button on the right hand side if you want to join in the fun) It's hosted by these two fabulous ladies Rachael  and Carla .
 
Today just some pictures but my next post will be how I created these adorable pants and how to add a pocket into a pants pattern.
 
The pocket fabric is CLIPPINGS in Passion AH38 - Loulouthi by Anna Maria Horner that I ordered from  Moona fabrics ( go check out their etsy shop here )
 
Now I have to say doing a "photoshoot" is quite the challenge with my busy Bella especially if you are trying to get shots of clothing but she loves it and that's all that matters.


Thursday, June 13, 2013

MInecraft fun......

 
So today is not about sewing. But in honor of summerbreak we are having some
minecraft FUN!
Arthur has been bugging me about painting boxes into Minecraft creatures since I started unpacking boxes in January. so we made a trip to our local JoAnn's yesterday to stock up on paint etc.
He made sure this morning that I remember about it and by 7am this morning we were doing this.....
 
 
Note to self  -  " If Isabella drives you crazy grab a box and some paint"
this kept her busy for a good 30 minutes. She did a fabulous job and she was so happy with the job she did.


Arthur always has fun with a paint brush.


we painted the boxes and then added the eyes and mouth from printables off the internet. ( just google Minecraft face print outs and increase the size as much as you like.)


The swords we also printed out and glued to two of his plastic swords.
 
They had so much fun outside.


" I am going to get you creeper !"
 
 
" I will destroy YOU!!!!"
 
Isabella is nursing it back to life!
 
 
See you next time!!!
 

Monday, June 10, 2013

The Necessary Clutch Wallet......


The past 11 years my sewing has been very sporadic. Only recently did I really get the machines into my own little space. I think the house we have moved into creates a nice little space and the kids can still play around in the house while I am busy sewing. Anyway, I have been mesmerized by all the blogs out there with wonderfully creative sewers and crafters. I get so many ideas etc. As I am browsing around last week I come upon this site - Emmaline - sewing patterns and Purse Hardware
If you know me at all you will know that I thought I was in Heaven. She has some great patterns, tutorials and beautiful hardware. I immediately ordered the Necessary Clutch wallet .I have always wanted to make a wallet but with the bags it is easy to adjust my own pattern but the wallet was above what I could come up with.

I chose to use some of the SweSwe fabric that my lovely Mom brought from South Africa on their last visit. More about SweSwe Here. It is wonderful for bags.

Anyway I am due for a new wallet and thought I would just do a little bit here and there. But as soon as I started I could not stop and just wanted to finish. I am quite happy how it turned out on my first try.


there are plenty of card pockets, place for my check book, pens, notebook etc.


Saturday, June 8, 2013

Traveling Game Pouch tutorial

Arthur used to have a game bag but it got lost at a hotel last year. It is a pain to keep all the original boxes and to be honest I am tired of hearing " Mamma, where is my ...... game?" And the last thing mamma has time for is going on a 3ds game hunt.  Here is a tutorial on how to make a game pouch for 3ds games and you can adjust it to how many games and how big you want it. I wish I added a place for the system itself because mine ended up being the perfect size. I hang it up in his room close to his bed so it is easily reachable to him but not to his sister and if you fold it over he can carry it with him if we go to a restaurant.


This is what you are going to need:
You are also going to need interfacing for both the inside and outside panels. the chevron part I used an iron on thin interfacing and ironed it on before folding the pouches. This makes it a little thicker and helps so the games stay in place and don't slip out.
For the outer panel I use a STRONG woven sew- in interfacing to keep the form.


Drawing lines.
You are going to draw 4 lines that are 1 1/4 inches apart and the fifth one is 1/2 inch then repeat. I repeated this 5 more times for 6 rows.
 
 
After you folded your pouches and ironed them very well you are going to mark your lines to create the pockets.


You can make the handles how ever you want. I added rope so it creates more grip.


Attach your handles to the outer panel with the woven interfacing and sew on.


 Now you are going to put the outer and inner panel together (wrong sides) and pin your bias binding on.


Finished product. You can hang it up closed and slip the handheld in it to keep everything together or open
 

Thursday, June 6, 2013

skirtweek 2013

I am cutting it close but thought I should at least do a skirt for me as  well for Skirtweek 2013
hosted by crafterhours. I had a piece of blue fabric lying around wish I had more so I could make a long skirt but it worked out fine especially for the summer.


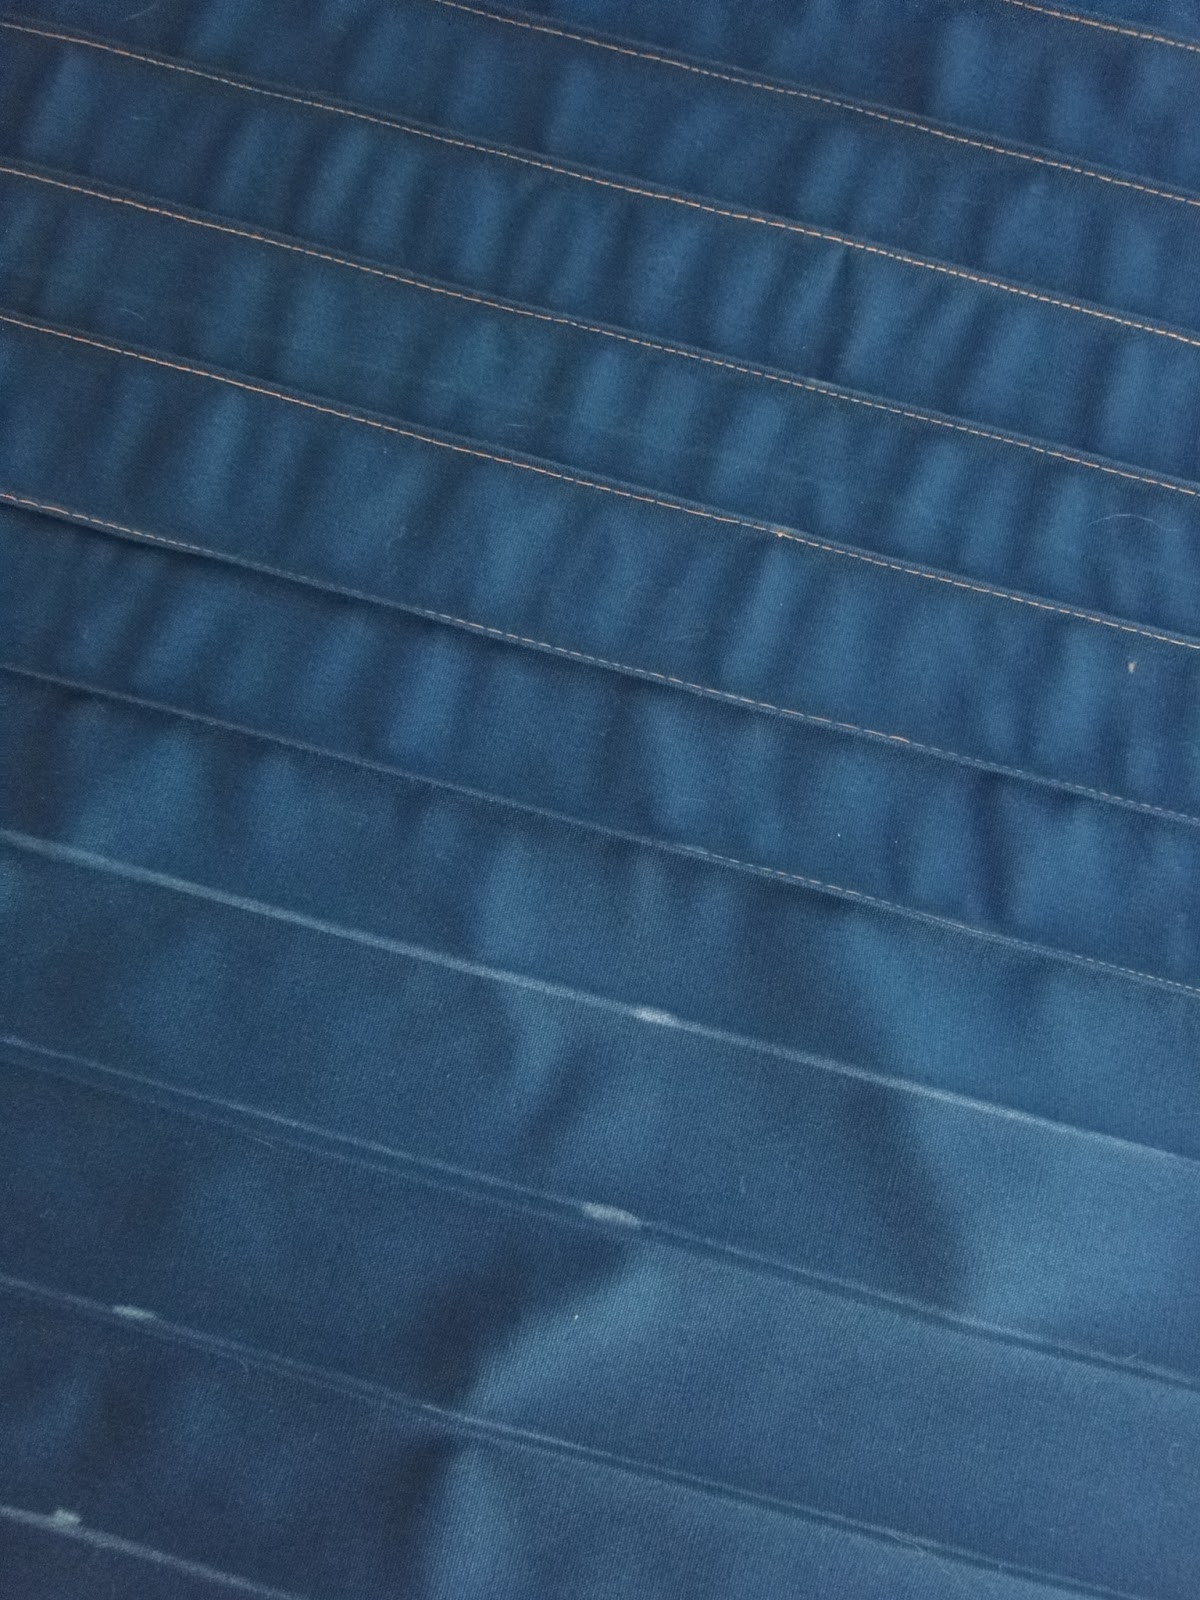
First I made the fabric for the top part by sewing seams 2 inches apart. I marked all of it first, then ironed it ( this makes it a lot easier to sew a nice straight line and even).


 this is how it looks on the back of the fabric after all the seams.
 
 
I just cut the top part by marking around another skirt. The bottom flare was done by cutting 3 cuts then forming then in a circular shape like below.

 
The fabric has a little of a stretch so it fits really nice.